

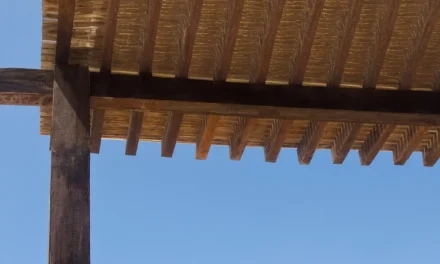
When the scorching sun threatens your outdoor enjoyment, a garden sun shade canopy becomes your oasis of cool relief. Offering a stark contrast to the relentless heat, these canopies create a shady retreat where you can relax or entertain without breaking a sweat. With easy setup and versatile designs, they effortlessly transform your outdoor space into a comfortable haven. Say goodbye to sunburns and overheating as you bask in the cool shade provided by a garden sun shade canopy. Elevate your outdoor experience and embrace the perfect blend of style and function with this essential addition to your garden.
Planning the Installation
Choose the Right Location
Select a spot in your garden that receives adequate sunlight for the garden sun shade canopy. Ensure it’s away from trees or structures that may obstruct the shade.
Measure the Installation Space
Measure the area where you plan to install the canopy. Consider the dimensions of the canopy and ensure there is enough space for it to open fully.
Gather Necessary Materials
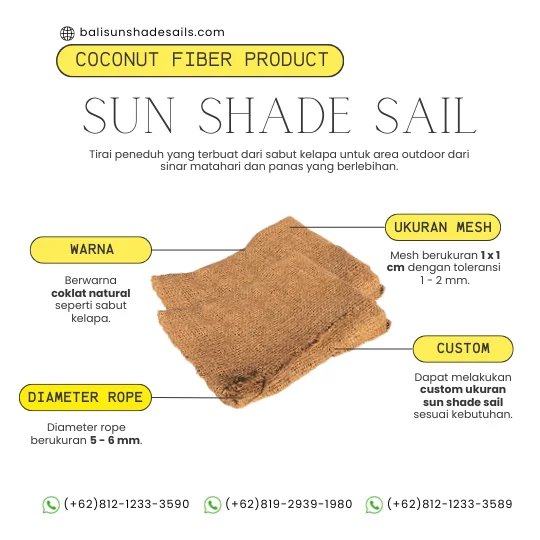
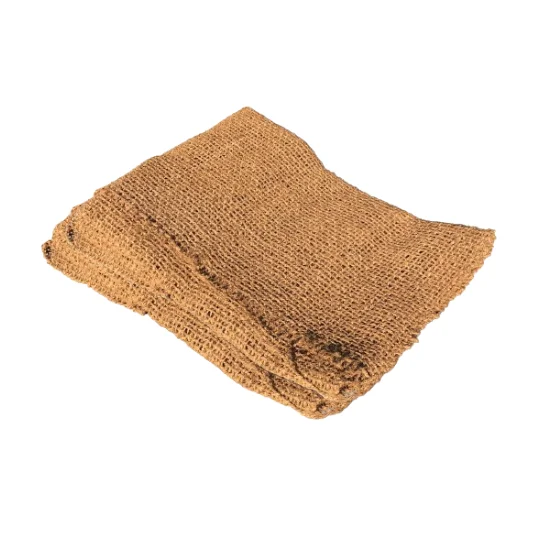
- Canopy: Choose a durable and weather-resistant material.
- Frame: Opt for a sturdy frame that can withstand windy conditions.
- Anchors: Secure anchors such as stakes or weights to keep the canopy in place.
Preparing for Installation
Dig Post Holes
Start by marking the spots where the posts will go using stakes and string for accuracy.
Dig holes at least 2 feet deep to ensure stability and support for the sun shade canopy.
Consider the positioning of the sun throughout the day to determine the best placement for shade coverage.
Prepare Concrete for Posts
Mix concrete according to the manufacturer’s instructions in a wheelbarrow or mixing tray.
Pour the concrete into the post holes around the inserted posts for a secure foundation.
Allow the concrete to cure completely before attaching the shade sail to prevent any shifting.

Install Shade Sail Posts
Attach brackets to the posts using screws to provide anchor points for the shade sail.
Lift the shade sail into place and secure it to the brackets using carabiners or turnbuckles.
Adjust the tension of the sail carefully to ensure a taut and wrinkle-free installation.
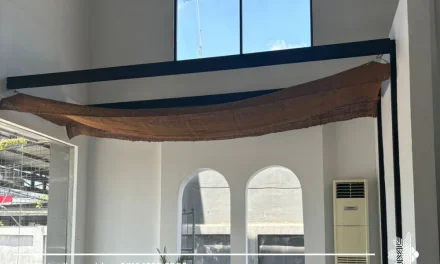
Attaching the Canopy
Install Shade Hardware
To install the garden sun shade canopy, begin by fixing the hardware to your chosen installation points. Use durable screws or hooks for secure attachment to walls, poles, or other structures. Ensure the hardware is firmly in place before proceeding.
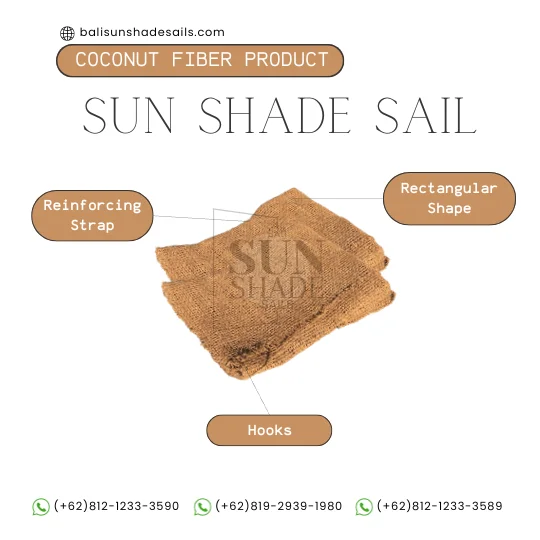
Next, attach the turnbuckles or D-rings to the corners of the shade sail. These components will allow you to adjust the tension of the canopy easily. Use strong ropes or cables to connect the hardware to the sail securely.
Connect the Sun Shade Sail
After securing the hardware and attaching the necessary components, it’s time to connect the sun shade sail to the installed hardware. Carefully lift the sail and hook each corner onto the corresponding hardware attachment point.
Adjust the tension of the canopy by tightening or loosening the turnbuckles or D-rings. This step is crucial for ensuring a taut and stable canopy that can withstand wind and weather conditions effectively.
Remember to regularly check and maintain the tension of your garden sun shade canopy to prevent sagging or damage over time. Proper installation and maintenance will extend the lifespan of your canopy and enhance its functionality.
Final Adjustments
Tension and Secure the Canopy
To ensure stability, adjust the canopy’s tension by tightening the straps evenly on all sides. This prevents flapping.
Secure the canopy by firmly fastening the straps to the frame. Check for any loose connections or weak spots.
Inspect the overall tautness of the canopy by gently pushing on its surface. It should feel firm and secure without excessive movement.
Inspect for Stability
Check each corner of the canopy to ensure it is securely attached to the frame. Any loose areas can compromise stability.
Inspect the base structure to confirm it can bear the weight of the canopy. Reinforce weak points if necessary for added stability.
Test the canopy’s stability by gently shaking it to see if it wobbles or shifts. A stable canopy will remain in place without significant movement.
Maintenance Tips
Clean the Sun Shade Regularly
To maintain your garden sun shade canopy, ensure regular cleaning to prevent dirt and debris buildup. Use a mild soap solution and a soft brush to gently scrub the fabric. Rinse thoroughly with water and allow it to air dry completely before storing it.
Regular cleaning not only keeps the sun shade looking fresh but also extends its lifespan by preventing mould and mildew growth. Inspect the canopy for any stubborn stains or marks that require special attention. For tough stains, consider using a fabric-safe stain remover following the manufacturer’s guidelines.
Check for Wear and Tear
Periodically inspect the sun shade canopy for signs of wear and tear, such as fraying seams, tears, or fading colours. Address any issues promptly to prevent further damage. Look out for rust on metal parts and make sure all connections are secure.
Regular maintenance will help you identify potential problems early on, allowing you to repair them before they worsen. If you notice any significant damage that cannot be fixed, consider contacting the manufacturer for replacement parts or professional repairs.
Final Remarks
In summary, installing a garden sun shade canopy involves careful planning, preparation, attachment, adjustments, and maintenance. By following these steps diligently, you can create a comfortable outdoor space shielded from the sun’s harsh rays. Remember to regularly check and maintain your canopy to ensure its longevity and effectiveness in providing shade for your outdoor activities.
Take the time to invest in the proper installation and upkeep of your garden sun shade canopy. This will not only enhance your outdoor experience but also prolong the life of your canopy, saving you time and money in the long run. Enjoy your shaded oasis and make the most of your outdoor living space!
Frequently Asked Questions
What factors should I consider when planning the installation of a garden sun shade canopy?
When planning the installation, consider the size of your outdoor space, the material and durability of the canopy, the position for optimal shade coverage, and any local regulations regarding installations.
How can I best prepare for installing a garden sun shade canopy?
Prepare by ensuring you have all necessary tools, checking the condition of your outdoor space, measuring accurately for placement, and enlisting help if needed for a smoother installation process.
What are the key steps involved in attaching a garden sun shade canopy?
The key steps include assembling the canopy frame according to instructions, securely fixing it in place using appropriate hardware, adjusting tension for stability, and ensuring proper alignment for effective sun protection.
How can I make final adjustments to ensure my garden sun shade canopy is properly installed?
Make final adjustments by checking the canopy’s stability in varying weather conditions, confirming all fittings are secure, adjusting tension as needed for optimal shade coverage, and ensuring the canopy is properly aligned for maximum effectiveness.
What maintenance tips should I follow to prolong the lifespan of my garden sun shade canopy?
To maintain your canopy, regularly clean it with mild soap and water, inspect for any signs of wear or damage, tighten fittings periodically, store it properly during adverse weather conditions, and follow manufacturer guidelines for care and maintenance.
If you interest to know more information about Bali Sun Shade, you can visit our website https://balisunshadesails.com/. You can also click WhatsApp link https://wa.me/6281212333590 (Ms. Maria) to connect directly with our team.

